Better coffee usually does not come from one secret trick. It comes from making a few important variables more consistent.
If your coffee tastes different every morning, the most useful question is not “What gadget am I missing?” It is “Which part of my brewing process changed?”
Coffee extraction responds to dose, water amount, grind size, water chemistry, temperature, contact time, agitation and the brewer itself. You do not need to control all of those like a laboratory. You just need a repeatable baseline and a way to change one thing at a time.
Here are ten practical improvements that make home coffee easier to diagnose and more consistent.
1. Measure the coffee and water at least while you learn
Scoops are convenient, but coffee beans and grounds do not always pack the same way. A digital scale removes that ambiguity.
For filter coffee, a useful starting point is around 60 grams of coffee per liter of water, roughly a 1:16.7 coffee-to-water ratio. That is close to the ratio used in Specialty Coffee Association brewing references.
You do not have to keep that exact ratio forever.
If the cup tastes too weak even after the grind is dialed in, use a little more coffee. If it feels heavy or stronger than you enjoy, use a little less.
The important part is knowing where you started so you can reproduce a good result.
If you are still estimating everything by eye, weighing a few brews is one of the fastest ways to learn what your preferred cup actually looks like.
2. Grind as close to brewing as practical
Whole coffee loses aroma after grinding because far more surface area is suddenly exposed to air.
The National Coffee Association's home-brewing guidance repeatedly recommends grinding as close as possible to brewing.
That does not mean pre-ground coffee cannot taste good. It means fresh grinding gives you one more quality variable you can control.
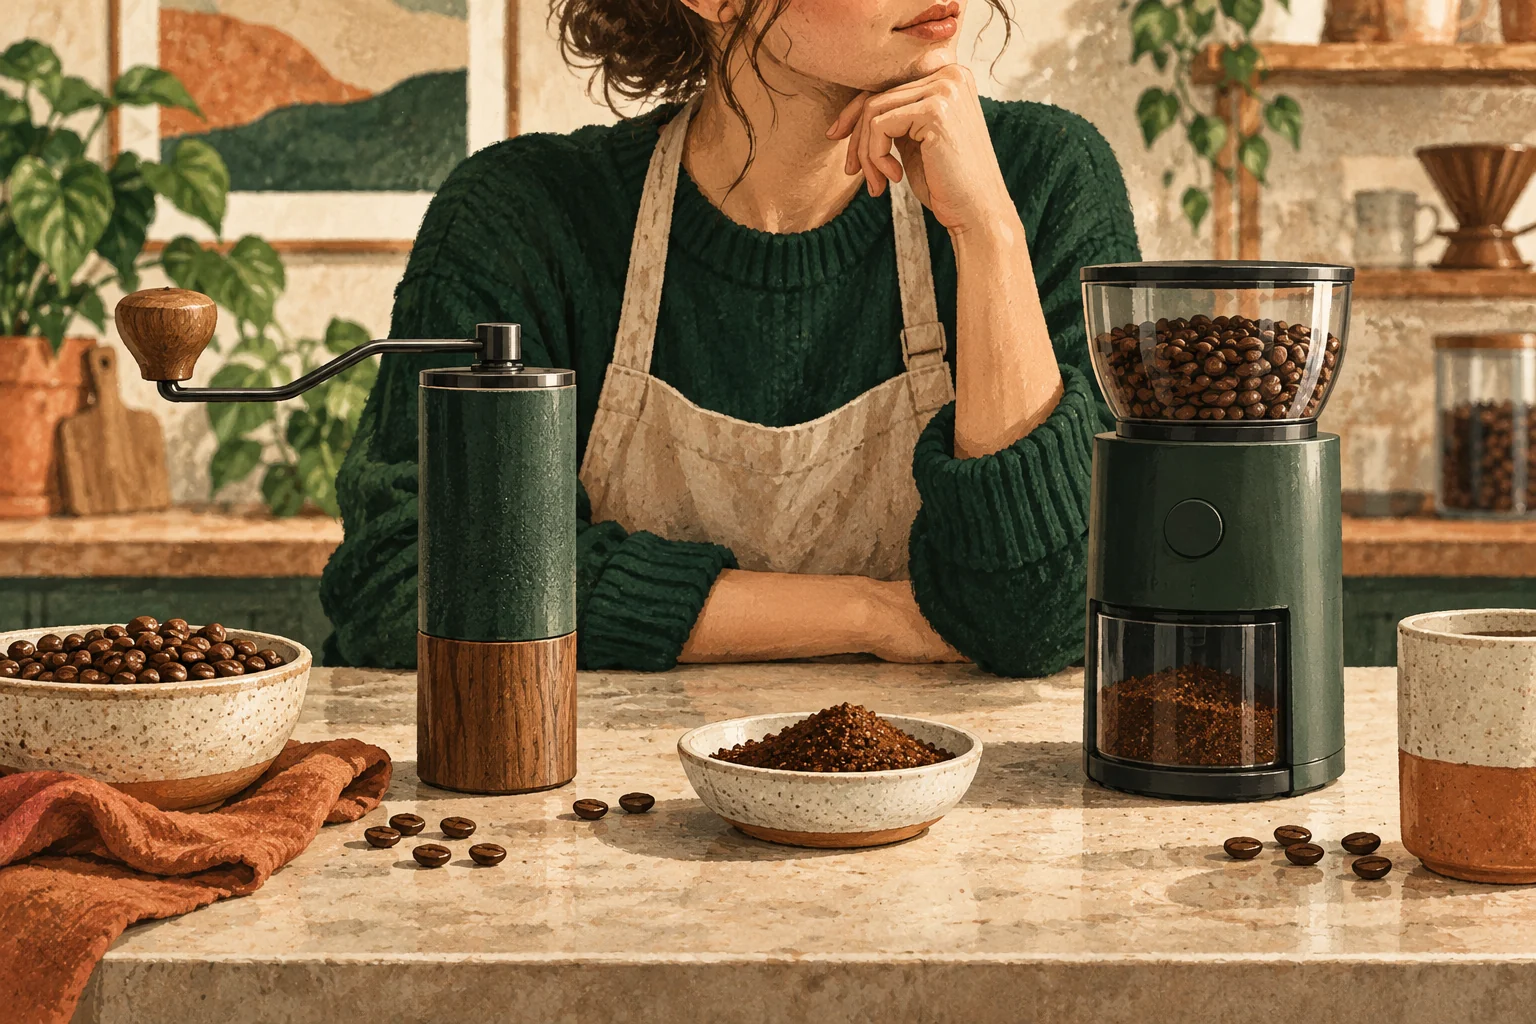
If you already own a grinder, grind immediately before brewing when convenient. If you buy coffee ground at a shop, buy amounts you can use while the flavor is still lively rather than storing a large opened bag for months.
Our coffee grinder guide explains the equipment side, while Find the Right Grind Size focuses on dialing in taste.
3. Treat grind size as a flavor adjustment, not a commandment
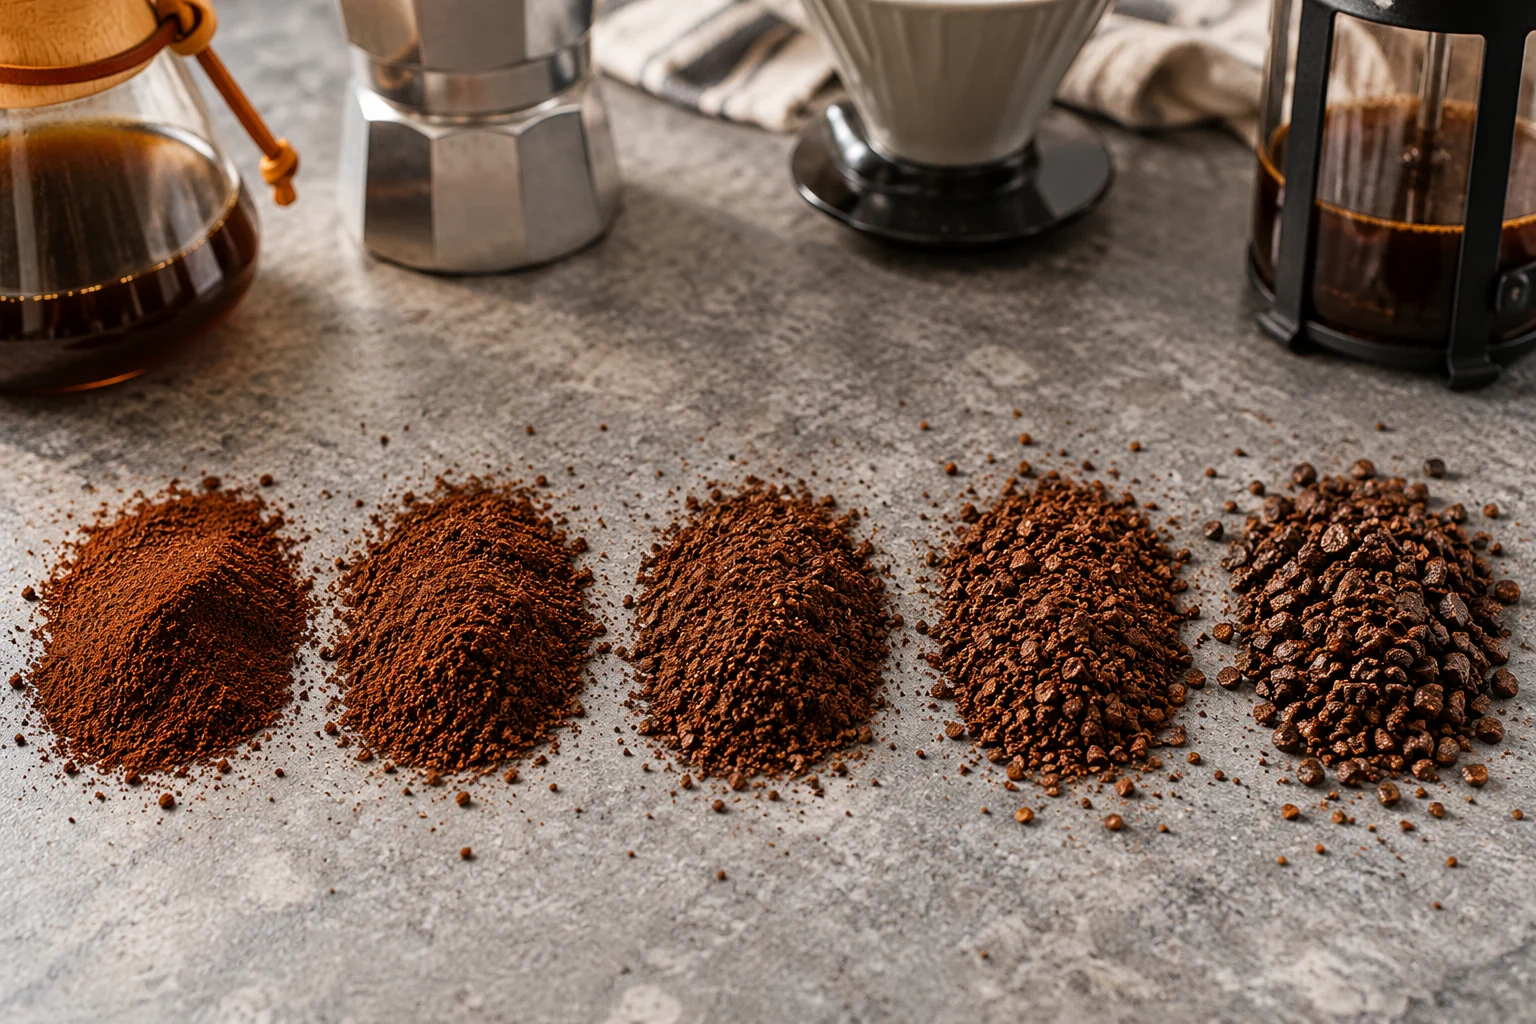
A grind chart is a starting point.
If a filter coffee tastes thin, sharp or sour and the brew runs very quickly, try grinding a little finer.
If it tastes harsh, drying or bitter and the brew stalls or runs unusually slowly, try grinding a little coarser.
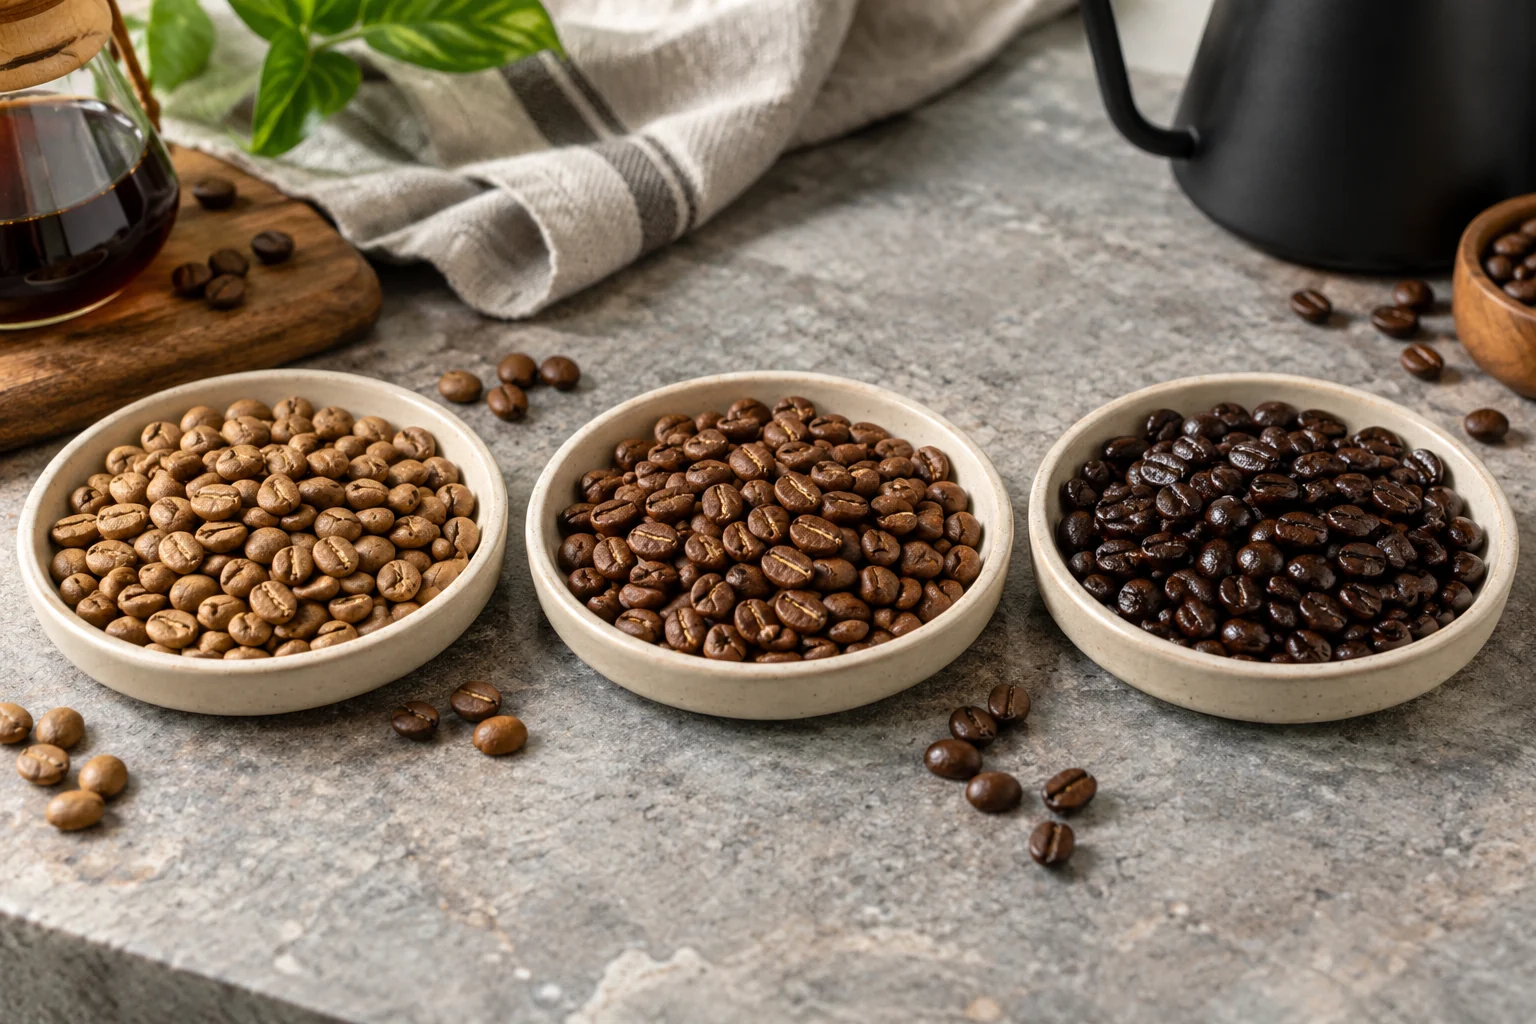
Those are diagnostic clues, not universal laws. Roast level, grinder, brewer geometry, dose and pouring technique all interact.
Make a small change, keep everything else the same and taste again.
That is much more useful than jumping several grinder settings at once.
4. Use water that tastes good before it touches coffee
Coffee is mostly water. If your tap water tastes strongly chlorinated, metallic or otherwise unpleasant, the coffee has little chance of hiding it.
National Coffee Association brewing guides recommend cold water and suggest filtered water when needed, while cautioning against distilled or softened water for many brewing methods.
You do not need to become a water chemist to improve a weekday cup.
Start with one simple test: brew the same coffee with your normal water and with a clean-tasting filtered water. If the difference is obvious, you have found a variable worth controlling.
For deeper coffee-water chemistry, mineral content and alkalinity matter because they influence extraction and perceived acidity. But the beginner move is simpler: use pleasant, consistent water first.
5. Start near a sensible brewing temperature, then adjust
For many hot filter methods, about 93 ± 3°C / 199 ± 5°F is a useful starting zone. Current NCA brewing guides cite that SCA reference for pour-over and French press preparation.
That does not mean 200°F is a magic number for every coffee.
Research summarized by the Specialty Coffee Association has shown that brew temperature interacts with other extraction variables. When extraction strength and percentage are held similar, temperature by itself can matter less than people assume.
So if your coffee tastes bad, do not immediately blame a two-degree temperature difference while ignoring a wildly inconsistent grind or ratio.
Use a sensible starting temperature. Then adjust if the roast, brewer or flavor tells you to.
Our upcoming coffee-temperature guide will go deeper on that variable.
6. Keep your recipe stable while you troubleshoot
One of the easiest ways to stay frustrated is to change the beans, ratio, grind, water temperature and pouring pattern all at once.
If the new cup improves, you will not know why.
Instead, pick a baseline:
- same coffee
- same dose
- same water amount
- same brewer
- same water
- same temperature range
- same basic technique
Then change one variable.
For example, if the cup tastes hollow, move the grinder slightly finer and leave everything else alone.
This is the same approach used in tasting and recipe development: control enough variables that the change becomes informative.
7. Pay attention to how evenly the coffee gets wet
In filter brewing, water that repeatedly finds an easy path through one part of the coffee bed can create uneven extraction.
You do not need to obsess over perfect-looking grounds, but you do want the coffee to get reasonably even contact with water.
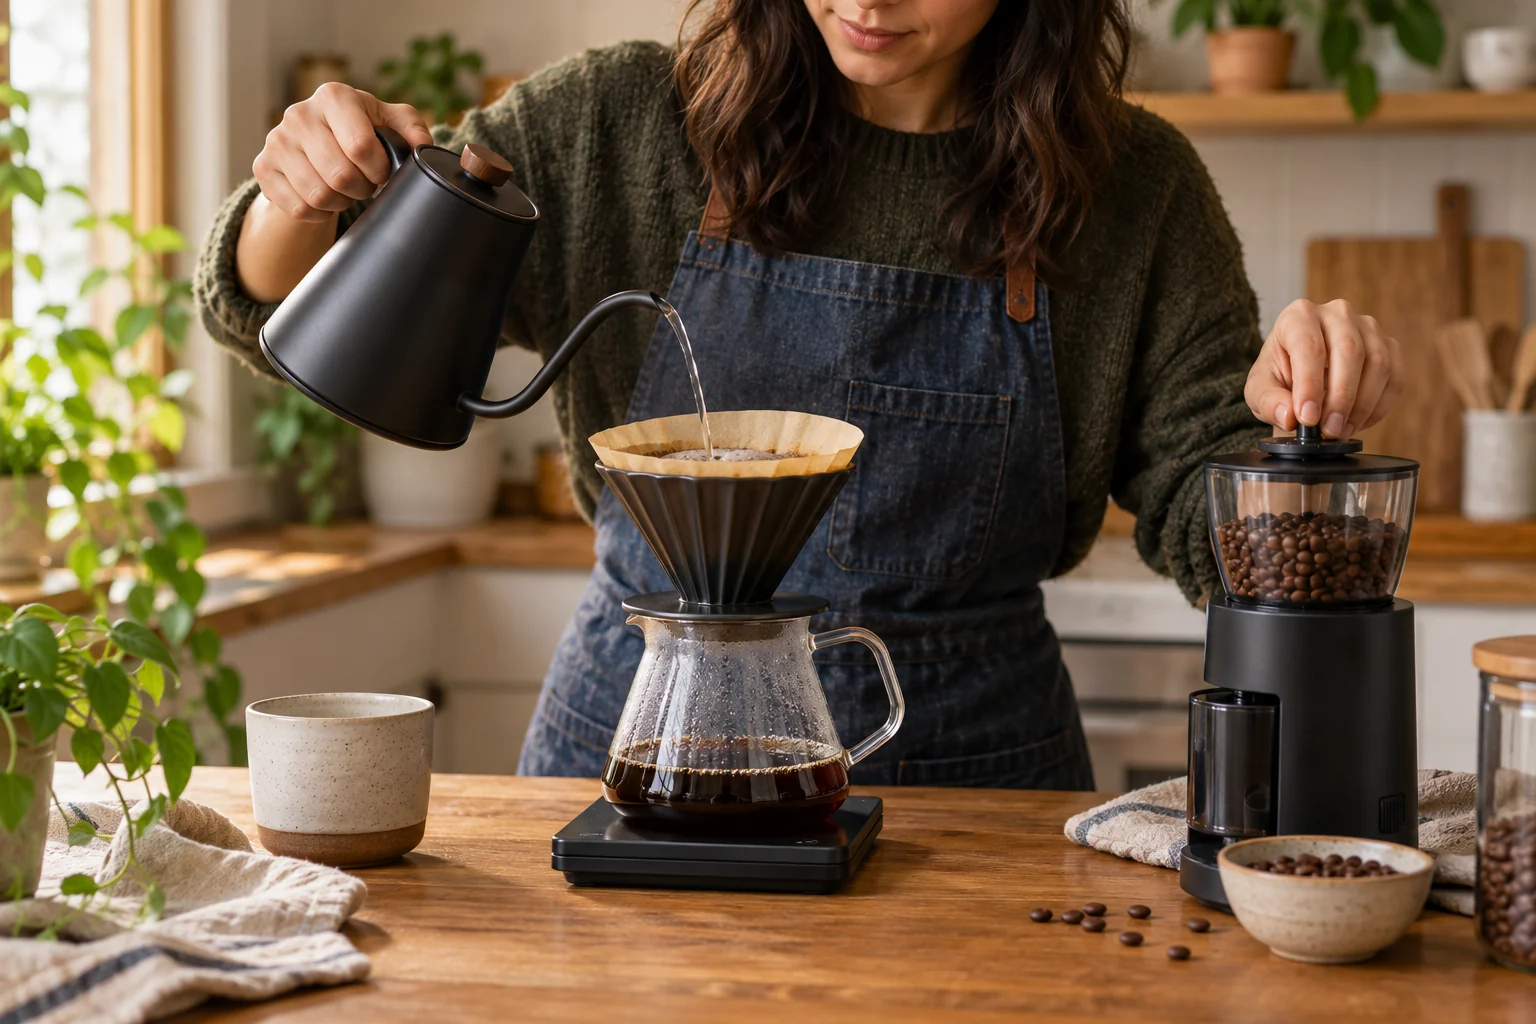
For a pour-over, that can mean:
- wetting all the grounds during the initial pour
- pouring with enough control that you are not blasting one spot
- avoiding dry pockets around the edge
- using a filter that fits the brewer properly
The NCA's pour-over guidance notes that badly fitted filters can contribute to channeling by interfering with even flow.
Automatic brewers solve some of this for you. SCA Certified Home Brewers are tested for brewing quality, consistency and performance, including water delivery and extraction-related requirements.
That certification is useful if you are shopping for a machine, but good coffee is still possible without buying a new brewer.
8. Clean the equipment before blaming the beans
Coffee oils and fine residue build up on brewers, filters, carafes and grinders.
The NCA specifically notes that lingering oils on reusable filters and pour-over equipment can negatively affect the taste of later brews.
If a coffee suddenly tastes stale or bitter no matter what bean you use, clean the brewer, carafe and reusable filter according to the manufacturer's instructions.